Apparently I also build Waldorf movable classroom style benches. A few weeks ago, a friend of mine who was just hired to teach at a tiny brand new school in Portland called the Living School let me know that they were asking for quotes from people who could build them 12 benches. As part of the project, the school was interested in finding ways to include the students in their construction. Naturally, as someone who recently earned a masters in teaching but who also got into teaching initially through substitute teaching for my former wood shop teacher, and as someone who is currently under employed, I was very interested! I wrote up a quote describing how I would create a series of kits, assemble one myself and then assemble as many additional benches as possible over the course of a day with the students. A week later, I found out that I received the commission!
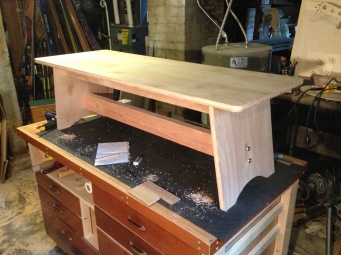
Among other things, it was a great excuse to go out an buy myself a router (I picked up a used Porter Cable 6911 off of craigslist), and I set myself to work. I was given some basic dimensions to work with. The benches were to be 4 feet long, have an 18 inch wide top, be 15.5 inches tall, and have ends that were 14.5 inches wide. I decided to use long course threaded screws for the ends of the stretchers with finish washers, and pocket screws to attach the top. Ah yes, this was also a good excuse to but a pocket screw drilling jig. The wood is all birch plywood except for the 2 by 4 lower stretcher. This project also happened to be a great way to put my still new-to-me table saw to the test ( A Delta TS300 bought off of craigslist for $200). Perhaps it is a little loud, and perhaps it could use a bit more power, but the fence and additional width I can rip boards to is a massive improvement over my ancient Atlas saw. With less than 20 hours of work I had all the pieces cut and routed for 12 benches, as well as the first one assembled.
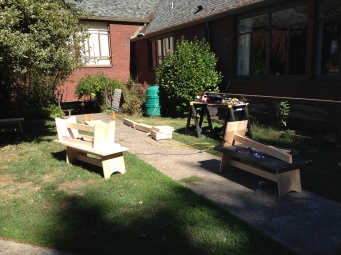
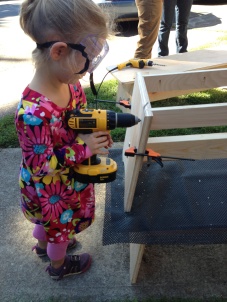
Last Thursday I went into the school, and had the opportunity to assemble benches with the the students which range from kindergarten through 3rd grade. I had the school round up additional drills and safety glasses, and we ended up with a drill for almost every bit we were using, which was awesome. It turned out to be a beautiful day, so we worked outside. All the pieces were cut to shape, but I had the students do almost all of the drilling. The students were great, and I had so much fun! I was usually working with a group of about 3 students, and had them take turns drilling holes and driving screws. I had a variety of jigs to show where the holes needed to be drilled on the end pieces and to hold the stretchers in place as they were attached. I also had students using clamps, grabbing pieces, and sanding all day long. My favorite image of the day was the small girl with the big ol’ safety goggles using the big ol’ 18 volt Dewalt drill. You can see it below. I LOVE IT! And I think they loved it too. Every student seemed to have a great time using the tools and assembling the benches. It was great to see how we could meet each student where they were at with the use of the drills to make sure they felt included and like they contributed to the construction of these benches.
In the end we might have gotten fewer benches built than I had hoped, and there are ways that it could have been structured differently to be more efficient, but the way I did it. all the students were able to watch the full assembly process of at least one bench. They watched the whole process from pieces of wood in a variety of different piles to something they could sit on as well as flip over and walk across the balance beam central stretcher. In the end I took home and assembled the last few kits myself. The school also asked me to apply the finish to them, so on Monday the assembled benches will be delivered to my house, where I am thinking about applying a few coats of Watco and a layer of paste wax. Regardless though, Thursday was a fantastic day. I’m going to toss it out there, if anyone has the need to have another series of benches built and wants to involve students, I would happily do this again!
Love it!
Read Full Post »
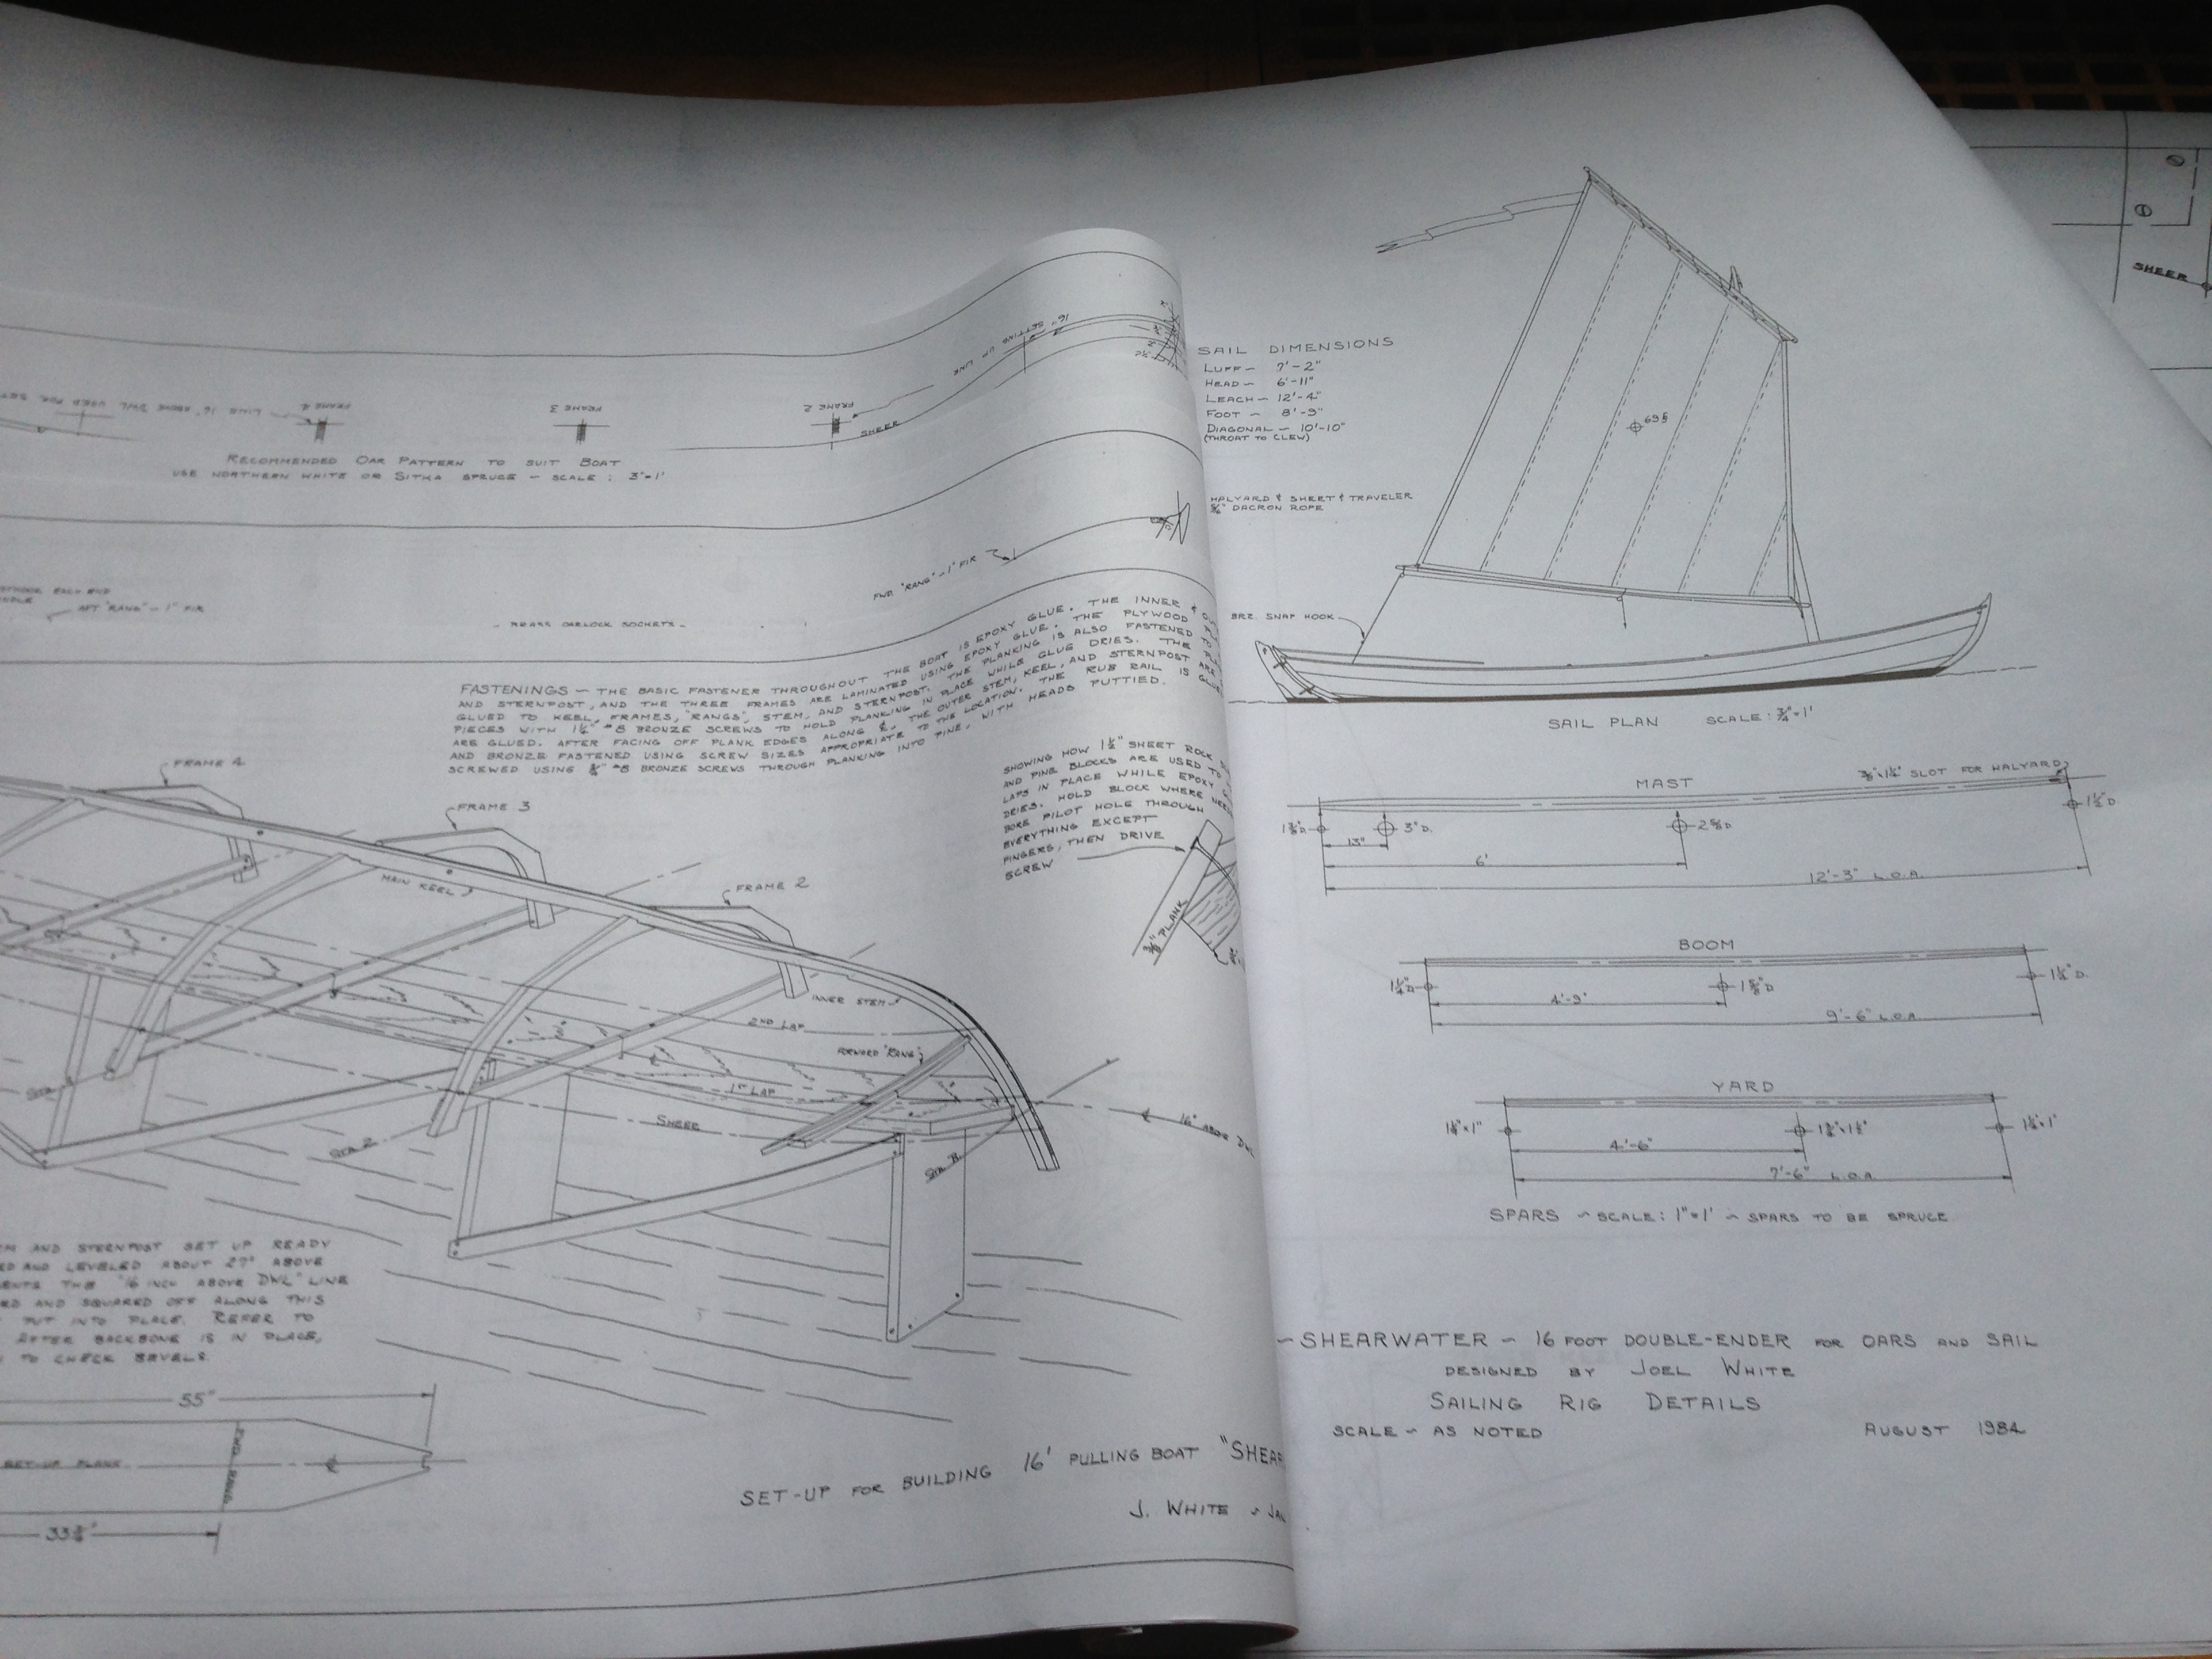 If you zoom in and read the text closely, you will be able to see where Joel White tells you not to drill pilot holes through your fingers.


